


If you are renting out your property or home, it is essential to invest time and energy into hiring an organized property management team. Only
Read More
For a successful vacation, you want to pack all the essentials to get you through the trip. Of course, what you pack has a lot
Read More
Becoming an entrepreneur means starting your own business and trust us this is not an easy job. It comes with its own struggles and one
Read More
Are you looking for ways to keep your dairy cattle healthy and protected from Digital Dermatitis that causes lameness in cattle? This post will guide
Read More
Overview Australia is one of the world’s richest countries and its storage trends have diversity due to changes in the lifestyles of the citizens. The
Read More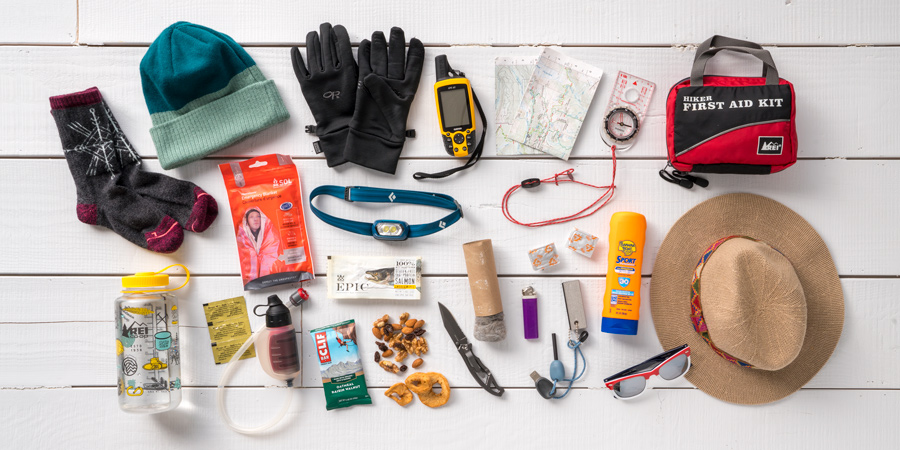
A well designed survival kit is priceless for any kind of emergency situation. Whereas most of the survival kits are planned mainly for the outdoor
Read More
For most people that are employed, they will spend a considerable amount of time in an office. It is certainly not everyone’s dream to be
Read More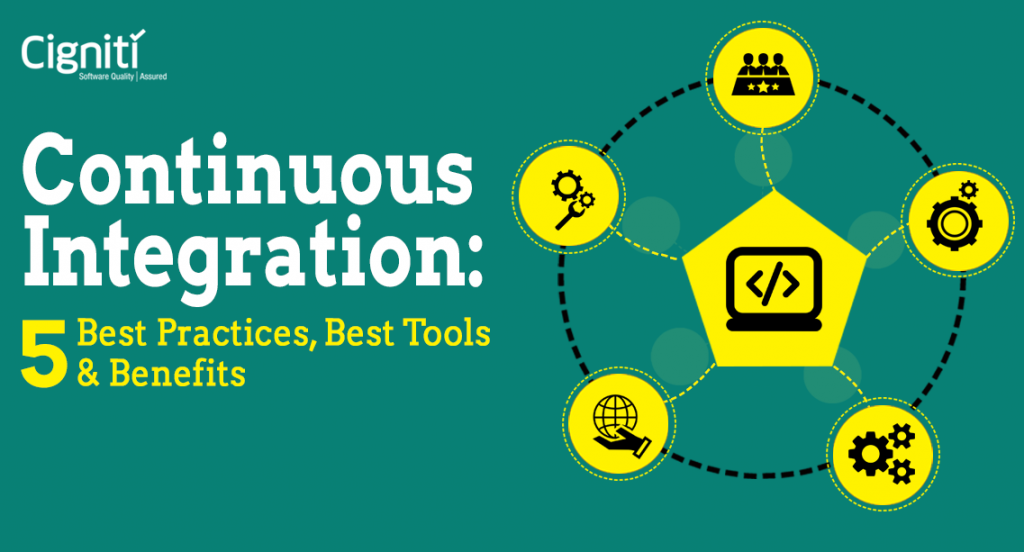
Everyone recommends you to use continuous integration tools, but why should you go with this approach, does it really matter or not? As you can
Read More
Everyone wants to have a straight body posture. But that is not possible with an improper lifestyle and without proper diet and exercise. Because if
Read More
A cleaning business will always stay in business but with time, you will need to put in efforts to help it grow. You don’t
Read More